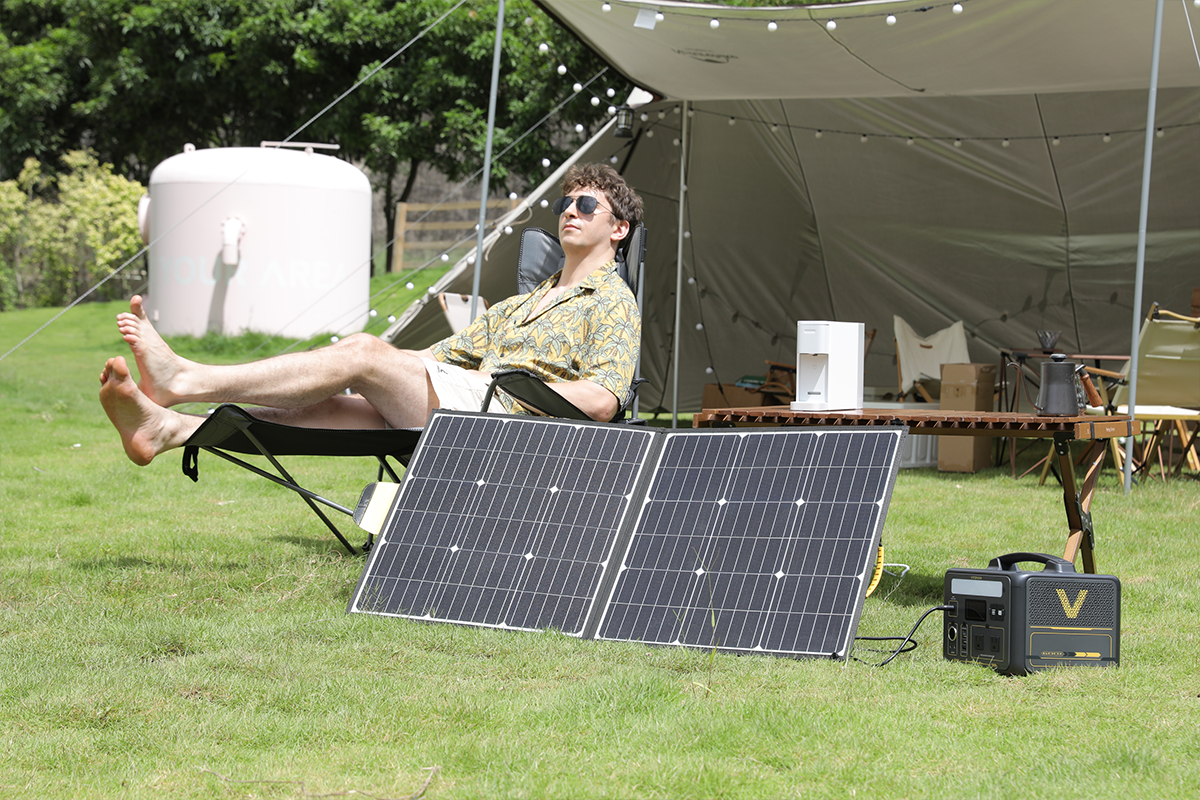
 When it comes to renewable energy, solar panels are perhaps the most popular solution for generating electricity. They are eco-friendly, cost-effective, and can be easily installed in both residential and commercial settings. However, what happens when you need power on the go or in remote locations where electricity is not accessible? This is where a solar generator comes in handy. In this article, we will guide you through 5 simple steps to building your own solar generator from scratch.Step 1 – Determine Your Power NeedsThe first step in building a solar generator is to determine your power needs. This will help you determine the size and capacity of your solar generator. Start by listing all the appliances and devices you intend to power with your generator. For instance, if you plan to use your generator to power a refrigerator, lights, and a television set, you need to ensure that your solar panels and battery can produce enough power to meet these demands.Step 2 – Select and Purchase a BatteryThe next step is to select and purchase the right battery for your solar generator. A deep-cycle battery is an ideal choice as it is designed to discharge energy slowly over a long period. Depending on your power needs, you may need to purchase more than one battery to handle the load. Make sure to purchase a battery with the correct voltage and amp-hour rating.Step 3 – Purchase Solar Panels and Charge ControllerThe next step is to purchase the solar panels and charge controller. The size and number of solar panels you need will depend on your power needs and the size of your battery. A charge controller is necessary to ensure that the battery is not overcharged or discharged. It is also essential in regulating the amount of power your solar panels generate.Step 4 – Build the Generator BoxYour generator box should be large enough to accommodate the battery, charge controller, and solar panels. It should also have an opening for air circulation and a power output socket. You can build the box using plywood, seal it with silicone, and paint it with waterproof paint.Step 5 – Install the ComponentsThe final step is to install the battery, charge controller, and solar panels in the generator box. Connect the solar panels to the charge controller and the battery. Remember to connect the charge controller to the battery and ensure that the polarity is correct. Finally, connect the output cable to the power socket, and your solar generator is ready to use.In conclusion, building your solar generator is a feasible project that requires a bit of research, planning, and some DIY skills. Not only is it a sustainable solution, but it is also a cost-effective way to access electricity in remote locations or during power outages. By following these 5 simple steps, you can create a solar-powered generator that meets your specific needs. So, get started today, and enjoy the benefits of renewable energy.
Search
Popular Posts


