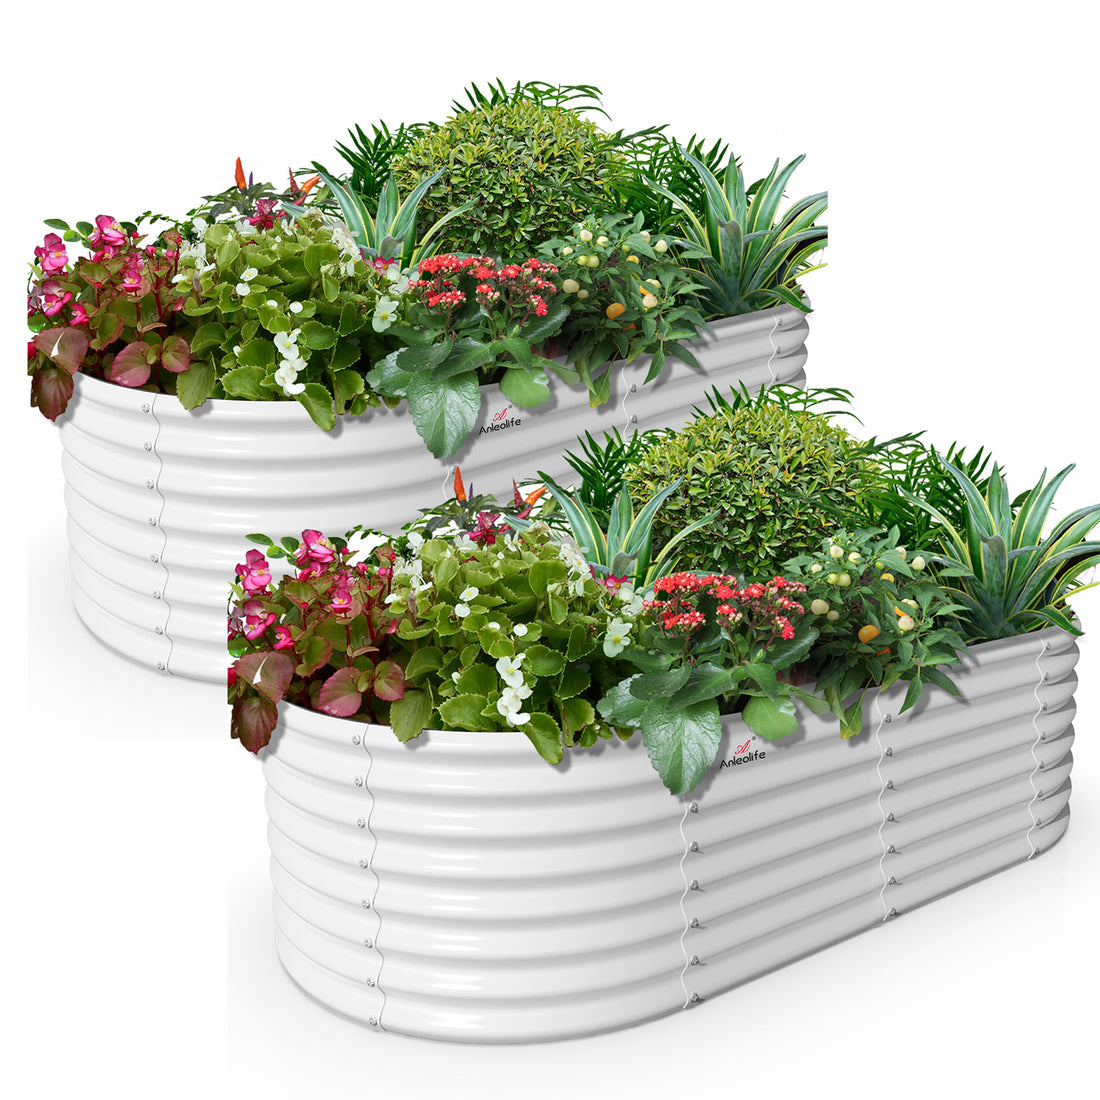
Are you looking to start your own garden but don't have the space or suitable soil in your yard? Building a raised garden bed is the perfect solution! Not only does it provide better drainage and soil quality, but it also makes gardening more accessible for individuals with physical limitations. In this article, we will guide you through the 10 essential steps to building your own raised garden bed, from planning to planting.

Step 1: Choose the Location
The first step in building your raised garden bed is to select the perfect location. Look for an area in your yard that receives adequate sunlight and is easily accessible for watering and maintenance. Keep in mind the types of plants you want to grow and their specific sunlight requirements.
Step 2: Gather Materials
Next, gather all the materials you will need for your raised garden bed. This includes lumber for the frame, screws, a saw, a drill, and a level. You may also want to consider adding a layer of landscape fabric to prevent weeds from growing up into your garden bed.
Step 3: Determine the Size and Shape
Decide on the size and shape of your raised garden bed. Keep in mind that you should be able to reach the center of the bed from all sides, so it's best to keep the width around 3-4 feet. The length can vary depending on the available space and your gardening needs.
Step 4: Build the Frame
Using the lumber and screws, construct the frame of your raised garden bed. Make sure the corners are square and the frame is level. This will ensure that your garden bed is sturdy and will last for years to come.
Step 5: Add Soil and Compost
Fill your raised garden bed with a mixture of high-quality soil and compost. This will provide the essential nutrients your plants need to thrive. Consider using a mix of topsoil, compost, and peat moss for optimal results.
Step 6: Plan Your Planting Layout
Before you start planting, plan out the layout of your garden bed. Consider the spacing and placement of each plant to ensure they have enough room to grow. You can use companion planting techniques to maximize the use of space and promote plant health.
Step 7: Plant Your Garden
Now comes the fun part – planting your garden! Follow your planting layout and gently place each seedling or seed into the soil. Water them thoroughly and watch as your garden begins to take shape.
Step 8: Mulch and Water
After planting, add a layer of mulch to help retain moisture and prevent weeds. Water your garden bed regularly, especially during dry periods, to ensure your plants stay healthy and hydrated.
Step 9: Maintain and Monitor
Keep an eye on your garden bed and monitor the growth of your plants. Remove any weeds that may pop up and check for signs of pests or disease. Regular maintenance will help your garden thrive throughout the growing season.
Step 10: Enjoy the Harvest
Finally, sit back and enjoy the fruits of your labor! As your plants mature, you'll be able to harvest fresh vegetables, herbs, and flowers right from your own raised garden bed. There's nothing quite like the satisfaction of growing your own food.
Building your own raised garden bed is a rewarding and enjoyable experience that can provide you with fresh produce and a beautiful outdoor space. By following these 10 steps, you'll be well on your way to creating a thriving garden that you can enjoy for years to come.


